

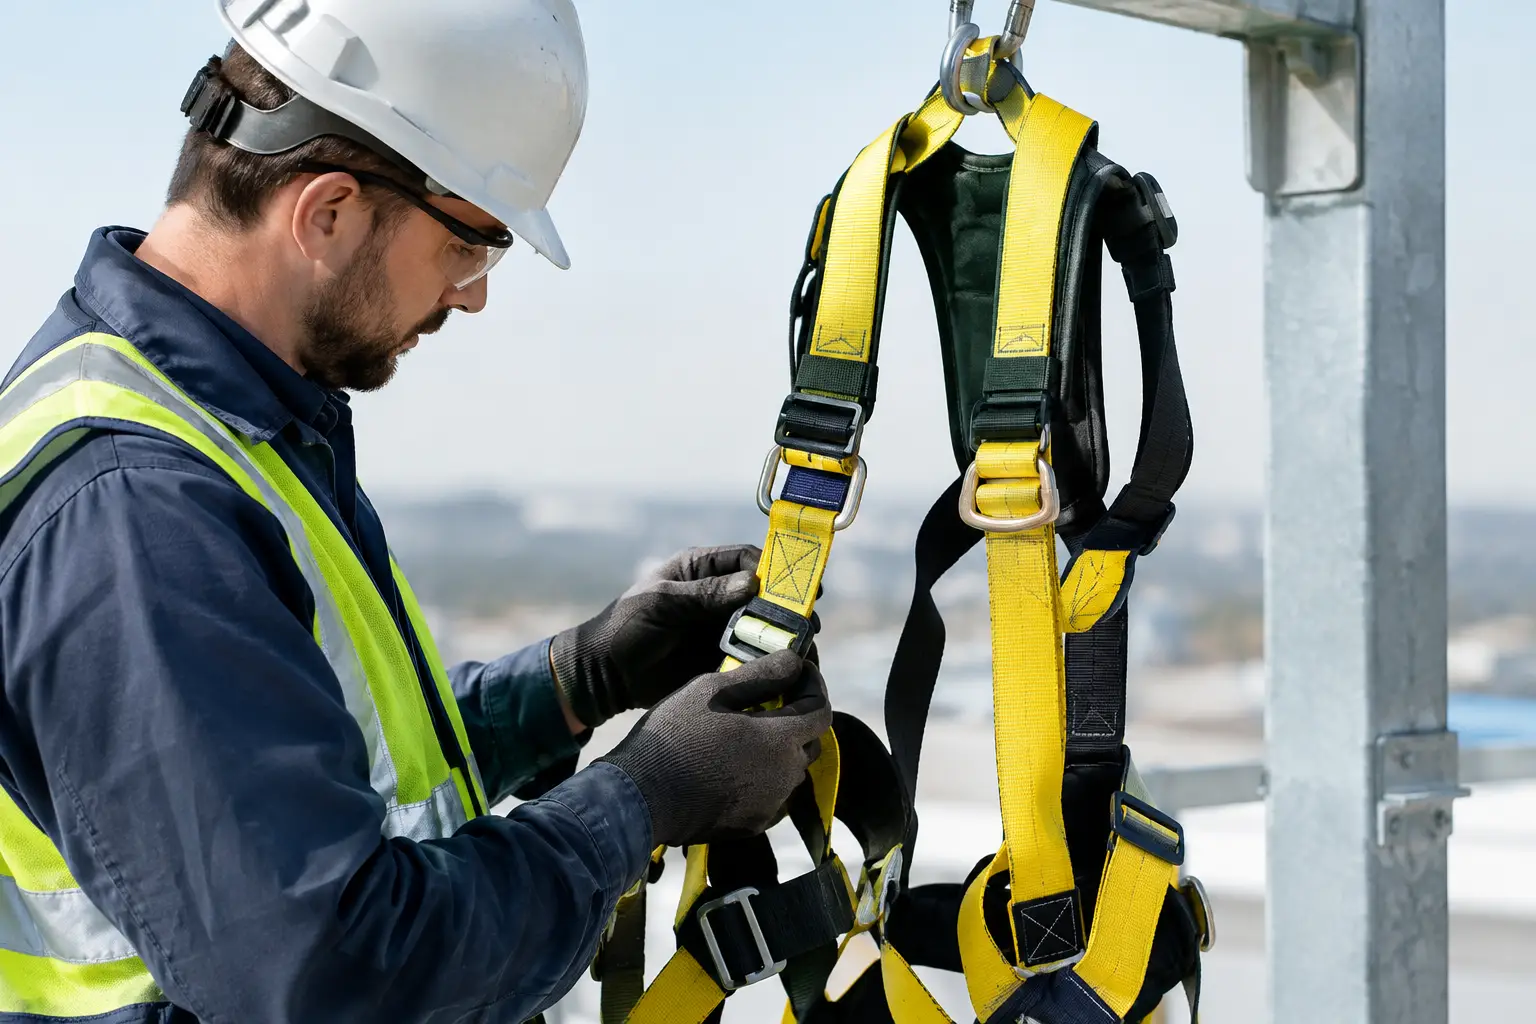
A harness can look serviceable from a distance and still be unsafe to use. Abrasion hidden beneath a shoulder strap, a distorted D-ring or an unreadable label can remove the assurance your work-at-height system depends on. This fall arrest harness inspection checklist helps supervisors, safety officers and users make a clear decision before work starts: use it, quarantine it or refer it for competent inspection.
A pre-use check does not replace the formal inspection interval set by the manufacturer and your site procedures. It is the everyday control that catches damage, contamination and incorrect assembly before a person leaves the ground.
Why harness inspection needs a system
Fall-arrest equipment works as a connected system. The harness, lanyard or self-retracting lifeline, connectors, anchor point and rescue arrangements must all be suitable for the task and compatible with one another. Inspecting only the harness is not enough, but it is a critical starting point because it carries the arrest forces across the wearer’s body.
Construction, warehousing, maintenance, telecommunications and industrial shutdown work can expose harnesses to sharp edges, welding spatter, paint, oils, chemicals, UV exposure and rough handling. Damage may develop gradually, particularly where webbing passes through adjusters or rubs against structures. A short, consistent check before each use gives the wearer and supervisor a practical opportunity to stop a failure from becoming an incident.
The outcome should never be based on guesswork. If there is doubt about the equipment’s condition, history or suitability, remove it from service. Replacing or assessing a harness is far less disruptive than responding to a fall.
Fall arrest harness inspection checklist
Carry out the inspection in good light, with the harness laid out flat or held by the dorsal attachment point so the straps can be traced from end to end. Check the equipment record and ensure the harness is the correct item for the user and task.
1. Confirm identity, records and service status
Start with the product label. It should be present, legible and show the manufacturer, model or product reference, serial or batch identification, relevant standards marking where applicable, date information and inspection details required by the manufacturer or site system. The label gives the competent person the information needed to manage the equipment’s service life and traceability.
Check that the harness has not passed its manufacturer-stated lifespan, formal inspection date or company replacement date. Do not assume an apparently unused harness is acceptable simply because it has been stored in a cupboard. Age, heat, damp and chemical exposure can affect materials, while missing records make condition and service history difficult to verify.
2. Inspect all webbing slowly
Run each strap through your hands, turning it to inspect both faces and the edges. Look closely at shoulder straps, leg loops, chest straps, rear webbing, adjustment areas and points where lanyards or tools may have rubbed.
Remove the harness from service if you find cuts, tears, holes, pulled stitching, frayed edges, excessive fluffing, melted fibres, heat glazing, hardened sections, discolouration or chemical staining. Also look for paint, cement, grease and oil contamination. Some contamination can conceal damage or affect fibre strength, so cleaning or continued use should only follow the manufacturer’s instructions.
Pay particular attention to webbing near buckles and the dorsal attachment area. These high-movement zones often show wear first. Do not trim loose fibres, stitch a damaged strap or attempt a site repair. Unauthorised repairs can change the performance of the harness and invalidate its approval.
3. Check stitching and load-bearing joints
Stitching is as important as the webbing itself. Inspect every sewn joint for broken, loose, worn, burnt or missing threads. Compare the pattern and colour with adjacent stitching where possible. A small section of damaged stitching may indicate that the harness has been overloaded or exposed to abrasion.
Examine stitched areas around D-rings, adjustment points, chest connections and leg straps carefully. If webbing is folded over or sewn into a connection, open the folds as far as practical to inspect hidden surfaces. Never pull seams apart or force components during the inspection.
4. Examine metal fittings and buckles
Check D-rings, buckles, adjusters, keepers and other metal hardware for cracks, bends, sharp edges, corrosion, pitting, distortion and excessive wear. Attachment points must be free to move as designed, without deformation or damage where the webbing connects.
Operate each buckle and adjuster. It should engage, release and adjust correctly, with no sticking, unexpected slippage or missing components. The metal surfaces should not have burrs that could cut webbing. Plastic fittings, where fitted, should be checked for cracks, fading, brittleness and signs of impact damage.
5. Look for fall indicators and evidence of loading
Many harnesses include a fall indicator, usually positioned near the dorsal attachment point or another defined location. Check the manufacturer’s instructions to identify what an activated indicator looks like. If it has deployed, changed appearance or is damaged, the harness must be quarantined.
Treat any harness involved in a fall, shock load or suspected overload as out of service, even if no visible damage is found. Arrest forces can cause internal or subtle damage that is not apparent during a pre-use inspection. Label the item clearly, prevent it from being reissued and arrange assessment by an authorised competent person in line with the manufacturer’s requirements.
6. Check fit before connecting
A sound harness still needs to fit correctly. Put it on without twists in the straps, connect all buckles and adjust it so the dorsal attachment point sits in the correct position on the back. Leg straps should be snug but allow necessary movement. Chest straps should be positioned and tightened according to the harness instructions, without restricting breathing or placing load-bearing straps incorrectly.
Loose straps can increase movement during a fall and affect post-fall suspension. Over-tightening can limit movement and discourage workers from wearing the harness correctly throughout the task. Fit can also change when winter layers, rainwear, tool belts or specialist protective clothing are worn, so assess the complete workwear arrangement rather than the harness in isolation.
Do not inspect the harness in isolation
Before work at height begins, inspect the rest of the personal fall-protection system. Confirm that lanyards, energy absorbers, connectors and retractable devices are within their inspection and service periods and have no damage, contamination or signs of activation. Check that connectors are compatible with the harness attachment point and the anchor arrangement. A connector that can load across its gate or sit incorrectly against a D-ring can create a serious hazard.
The anchor point must be suitable for the intended fall-arrest use, and the available clearance below the worker must account for lanyard length, energy absorber deployment, worker height, harness stretch and a safety margin. This calculation depends on the equipment combination and work location. It should be planned by a competent person, not estimated at the edge of a roof or platform.
A rescue plan is equally necessary. Fall arrest stops a fall but does not by itself resolve the risk of suspension intolerance or a worker stranded in an inaccessible position. Ensure the team knows who will initiate rescue, what equipment is available and how emergency services will be contacted.
Quarantine procedure when a defect is found
A defective harness should be taken out of circulation immediately. Attach a clear “do not use” tag, separate it from serviceable equipment and record the defect, serial number, date and person reporting it. This avoids the common failure where an item is placed aside during a busy shift and later returned to stock by someone unaware of the concern.
Only a manufacturer-authorised service provider or other suitably competent person should decide whether the item may return to service. Some issues may be addressed through an approved process, but many require replacement. The decision depends on the equipment design, damage type, manufacturer guidance and the relevant workplace procedure.
Make checks part of the working routine
The most effective checklist is one workers can complete properly, every time. Provide a clean inspection area, enough light and sufficient time before the task begins. Train users to recognise defects, fit their own harnesses and report uncertainty without pressure to continue working. Supervisors should reinforce that stopping to quarantine questionable equipment is good operational control, not a delay.
For procurement teams, standardising approved harness ranges and maintaining clear issue records makes inspection, training and replacement easier across sites. GHS Health & Safety CC can assist organisations in selecting dependable fall-arrest equipment and related PPE suited to their workplace requirements.
A harness earns its place in service only when its condition, fit, compatibility and records all support safe use. When one of those checks fails, the right decision is simple: keep the worker on the ground until safe equipment is available.